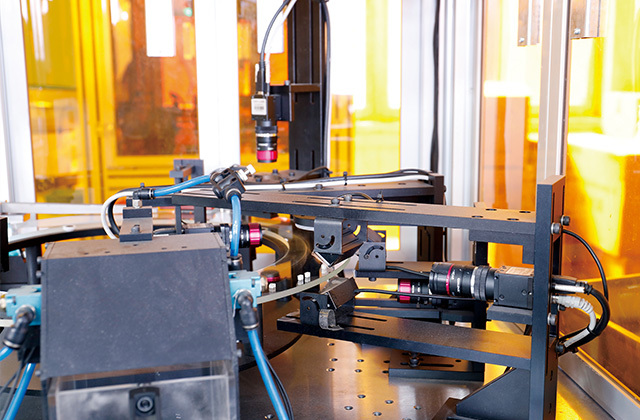
The manufacturing process of connectors
Release time:
2024-11-21 14:41
Connectors come in a wide variety, but their manufacturing process is largely consistent, generally divided into the following four stages:
Stamping
Plating
Molding
Assembly
Stamping
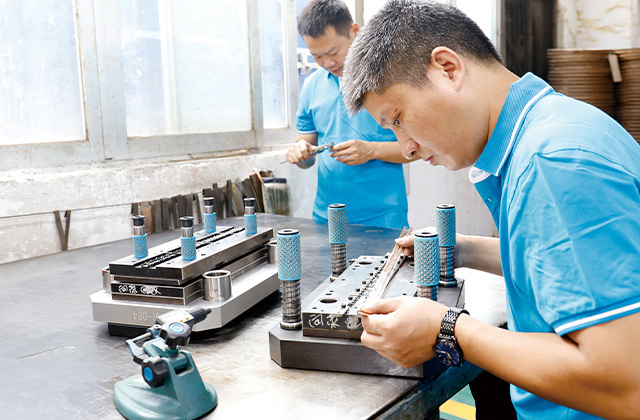
The connector manufacturing process generally begins with stamping the pins. Using large, high-speed stamping machines, electronic connectors (pins) are stamped from thin metal strips. A large roll of metal strip is fed into the front end of the stamping machine, the other end passes through the stamping machine's hydraulic worktable and is wound onto a reel, which pulls the metal strip and winds up the stamped finished product.
Plating
After the connector pins are stamped, they are sent to the plating section. In this stage, the electronic contact surfaces of the connector are plated with various metal coatings. Similar issues to the stamping stage, such as pin twisting, breakage, or deformation, can also occur during the process of sending the stamped pins to the plating equipment. Using the techniques described in this document, such quality defects are easily detected.
However, for most machine vision system suppliers, many quality defects that occur during plating are still considered "forbidden zones" for detection systems. Electronic connector manufacturers hope that the detection system can detect various inconsistencies on the plated surface of the connector pins, such as fine scratches and ******. While these defects are easily identifiable for other products (such as aluminum can lids or other relatively flat surfaces), due to the irregular and angled surface designs of most electronic connectors, it is difficult for visual inspection systems to obtain the images needed to identify these subtle defects.
Because some types of pins require multiple layers of metal plating, manufacturers also hope that the detection system can distinguish between the various metal coatings to verify their presence and correct proportions. This is a very difficult task for vision systems using black and white cameras, as the image grayscale levels of different metal coatings are actually very similar. Although color vision system cameras can successfully distinguish these different metal coatings, the problem of difficult illumination still exists due to the irregular angles and reflection effects of the coating surface.
Molding
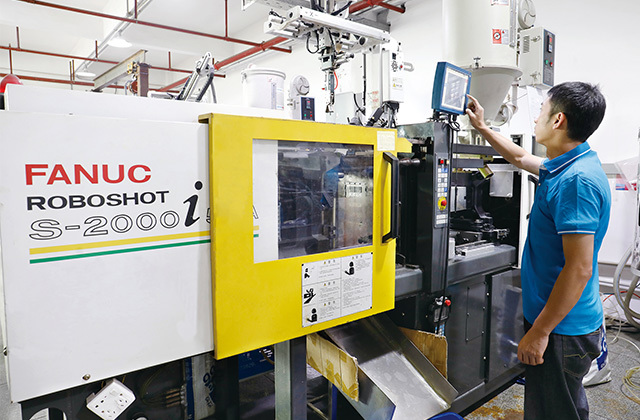
The plastic housings of electronic connectors are made in the molding stage. The usual process is to inject molten plastic into a metal mold and then quickly cool it to shape. When the molten plastic fails to completely fill the mold, it results in so-called short shots, a typical defect that needs to be detected in the molding stage. Other defects include filling or partial blockage of the sockets (these sockets must remain clean and unobstructed to properly mate with the pins during final assembly). Because backlighting makes it easy to identify housing short shots and socket blockages, machine vision systems used for quality inspection after molding are relatively simple and easy to use.
Assembly
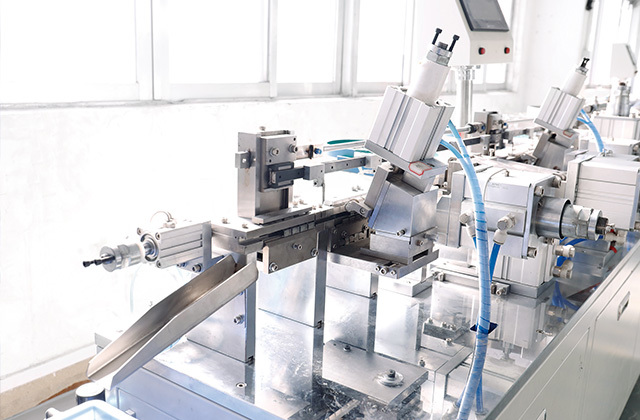
The final stage of electronic connector manufacturing is final assembly. There are two ways to insert the plated pins into the molded housings: single insertion or combined insertion. Single insertion refers to inserting one pin at a time; combined insertion refers to inserting multiple pins into the housing simultaneously. Regardless of the insertion method, manufacturers require that all pins be checked for missing parts and correct positioning during the assembly stage; another type of routine inspection task is related to the measurement of the spacing on the connector mating surface.
Like the stamping stage, connector assembly also presents challenges to automated inspection systems in terms of inspection speed. Although the cycle time of most assembly lines is one to two pieces per second, the vision system typically needs to perform multiple different inspection items for each connector passing through the camera. Therefore, detection speed is once again an important system performance indicator.
After assembly, the Size of the connector is orders of magnitude larger than the Size tolerance allowed for a single pin. This also presents another problem for visual inspection systems. For example: some connector housings are over a foot long and have hundreds of pins, and the detection accuracy of each pin position must be within a few thousandths of an inch. Obviously, it is impossible to inspect a one-foot long connector in one image; the visual inspection system can only inspect a limited number of pin qualities in a smaller field of view at a time. There are two ways to complete the inspection of the entire connector: use multiple cameras (which increases system cost); or continuously trigger the camera as the connector passes in front of a lens, the vision system "stitches" together the continuously acquired single-frame images to determine whether the entire connector is qualified. The latter method is the commonly used detection method for PPT visual inspection systems after connector assembly.
"True Position" detection is another requirement of connector assembly for detection systems. This "true position" refers to the distance between the top of each pin and a specified design baseline. The visual inspection system must create this imaginary baseline on the inspection image to measure the "true position" of each pin apex and determine whether it meets the quality standards. However, the reference points used to define this baseline are often invisible on the actual connector, or sometimes appear on another plane that cannot be seen at the same time in the same lens. In some cases, it is even necessary to grind away the plastic on the connector housing to determine the location of this baseline. This certainly raises a related issue - design for inspectability.
Inspectability
Due to the manufacturers' continuous demand for improving production efficiency and product quality and reducing production costs, new machine vision systems are being used more and more widely. As various vision systems become increasingly common, people are becoming more familiar with the characteristics of these detection systems and have learned to consider the inspectability of product quality when designing new products. For example, if a baseline is desired to detect the "true position", the visibility of this baseline should be considered in the connector design.
Previous Page
Previous Page

